
Recent Clients
This indicates the last four clients accessed; double click on a client to re-open.
Under the List Clients heading on the left hand pane of the main screen select List Clients.
The list of clients is not sorted initially. The order in which they are listed is the same order as they exist in the database with the newest created clients appearing at the end of the list.
The client list can be sorted by any field in the grid. Simply left-click on a field (column) header to sort only by that field. Further clicking on that header toggles between ascending and descending order. Pressing shift while left-clicking a header will add that field to the sorting criteria, making it possible to sort by multiple fields. Pressing ctrl while left-clicking a header will remove that field from the sorting criteria.
Column widths may be resized by placing the mouse pointer on the dividing line of any column heading and increasing or decreasing its width e.g. you may wish to reduce the width of the UTR and NI No column in order to increase the Status column. Changes are automatically retained when the program is closed and reopened. However, should you wish to revert to the default settings click on the letter R at the top right hand corner of the screen.
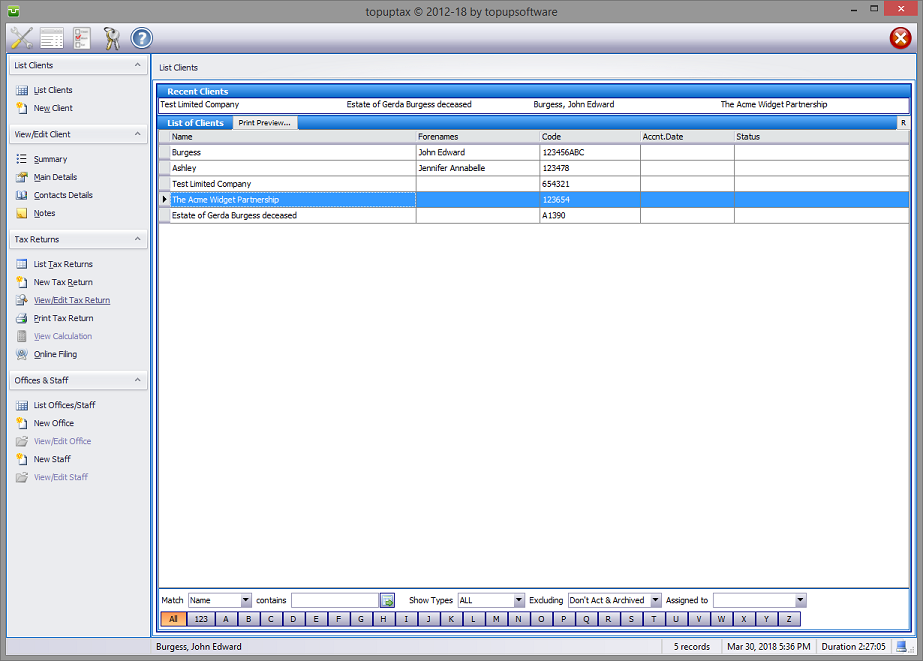
On larger databases the client you seek may be quickly found using Match by name, forenames, code, UTR and NI No. To select one of these use the drop down arrow then enter the search data in the contains box. Next click on the green Activate the filter button to the right of the contains box.
The search may be refined by selecting Show Types All, Individuals, Partnerships, Corporations and Trusts and Excluding Don't Act & Archived, Don't Act For Only or Archived Only.
Clicking on any of the alphabetical boxes along the bottom of the screen lists (All by default) all clients whose names begin with that letter.
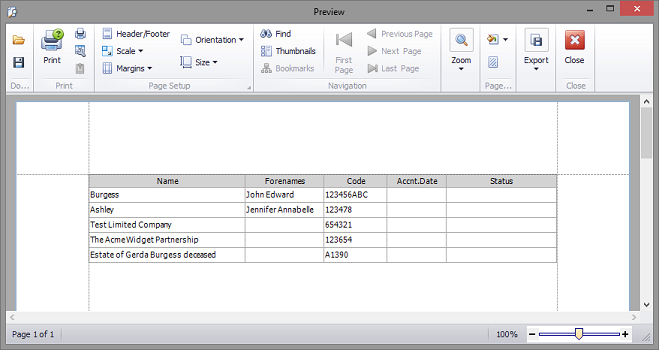
Configurable Columns and Print Preview
Clicking the Preview tab brings up a printable copy of your client listing.
If you right-click on any field(column) header a context menu will appear. This menu has options to configure the sorting mode for that field. There are also options to group by that field, hide the field(column), choose fields(columns) and best fit the field(column) or all.
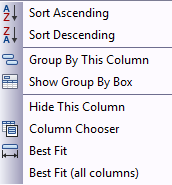
Column Chooser This option opens to show all available fields that are not currently included in the grid. Simply drag fields from there into the grid to add them. Fields can be removed by dragging the column back to this window.
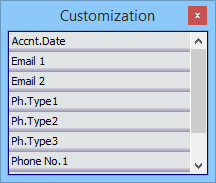
The order of fields in the grid, from left to right, can be changed by dragging a column header over the other columns and dropping the desired position. Additionally, the size of each column can be adjust by dragging the edge(s) of the column appropriately.
When the program is closed, all changes to the grid described above are saved locally to a special file on the computer. In a multi-computer network, each computer will therefore have its own separate column layout for the client list grid.
If at any time you want to undo all changes to the layout/sorting and revert to the original default settings, click the small button labelled "R" at the far top-right of the grid.
The list of clients can be printed and/or exported by clicking the "print preview..." button. The report generated is based on the current column layout of the grid.
Listing Clients by Fee Earner
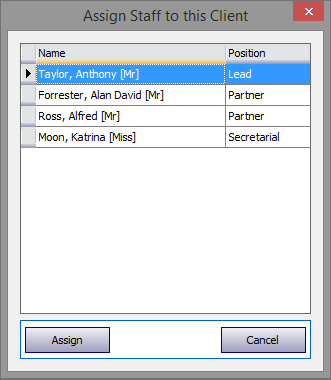
Clicking on the downward pointing arrow to the right of the Assigned to box in the lower right hand corner of the client listing brings up this screen. Selecting the relevant fee earner will list only those clients assigned to that operative. Note: clients will appear in the lists of several fee earners when assigned to multiple staff members.

Copyright © 2025 Topup Software Limited All rights reserved.